Uploading Your First Profile Image
For your Gravatar to work properly, we'll first need you to provide us with an image for your profile. Follow these steps to upload that image and prepare it for use with your account.
Login at Gravatar.com using your WordPress.com account by clicking the button at the top-right of the page.

Once you are logged in, click on the Add an Image link at the top of the page.

We'll ask you where you'd like to source this image. Click My computer’s hard drive.

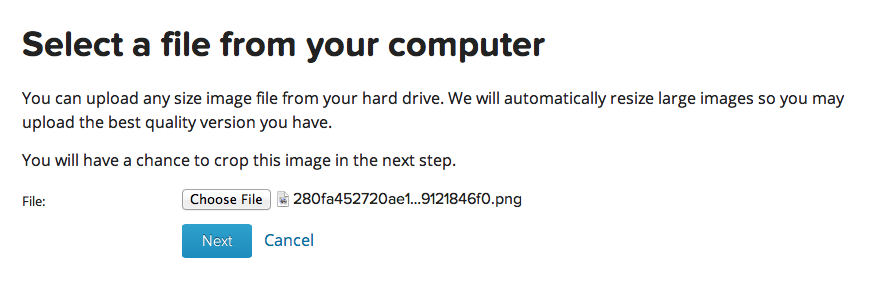
Now we'll ask you to direct the uploader to the image in question. Click Choose File.

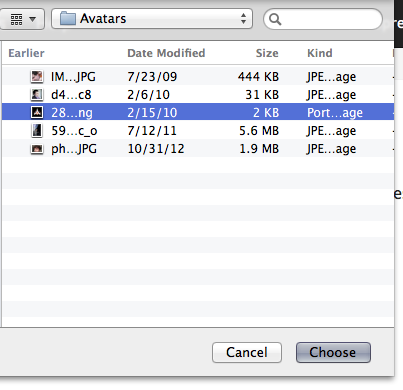
Locate the image on your computer and select it using the button that appears for your operating system (which will usually say Choose or Open).

You'll see the filename of the image appear in the uploader. Click Next to upload the image to us. (NOTE: on Internet Explorer 9 and later, the image name may disappear when you click Next. This is normal and in most cases the image is being uploaded. Please be patient.)

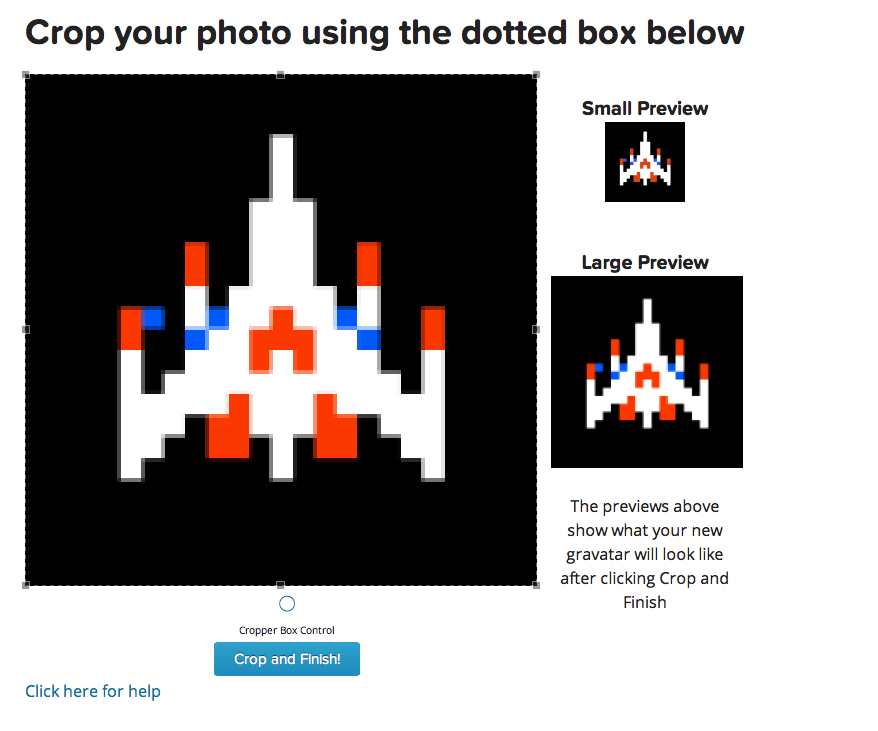
Now you can crop the image to only the portion of what you uploaded. Drag the cropper handles to select the part of the image you want. All images uploaded to Gravatar must be cropped as a square.
Once you have the crop the way you want it, click Crop and Finish.

Choose a rating for your image, making sure your image is appropriate to the rating. Keep in mind that many sites will only display G-rated Gravatars. Click on the rating you think is appropriate for your image.

Your Gravatar image can then be added to your address. We'll ask you which one it should apply to right away, or you can wait and not assign it to any of your registered emails yet.
Make your selection, and then you're done! You'll be taken to the My Gravatars screen, where you can continue to manage the images and email addresses that are assigned to your account.
 Crowdsignal
Create surveys for the web and mobile.